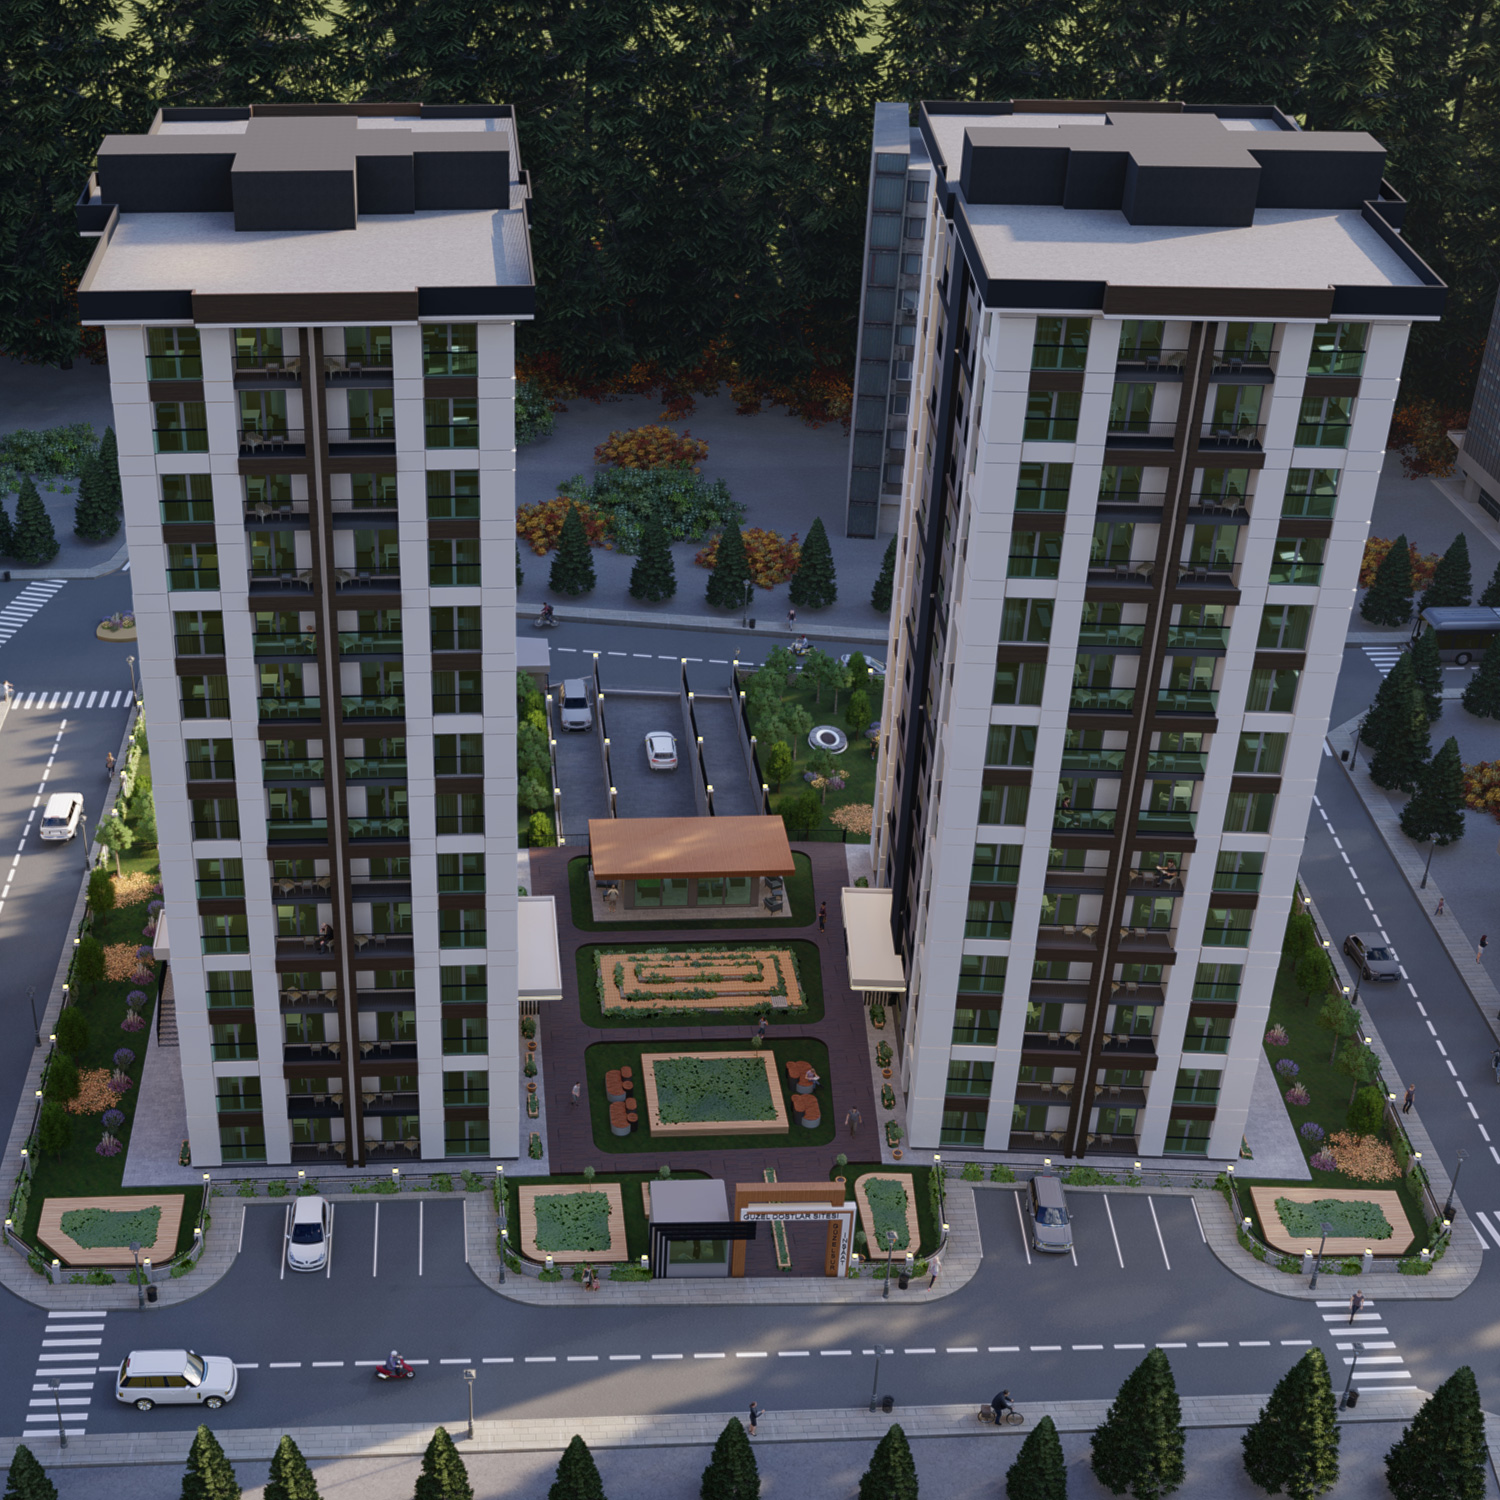
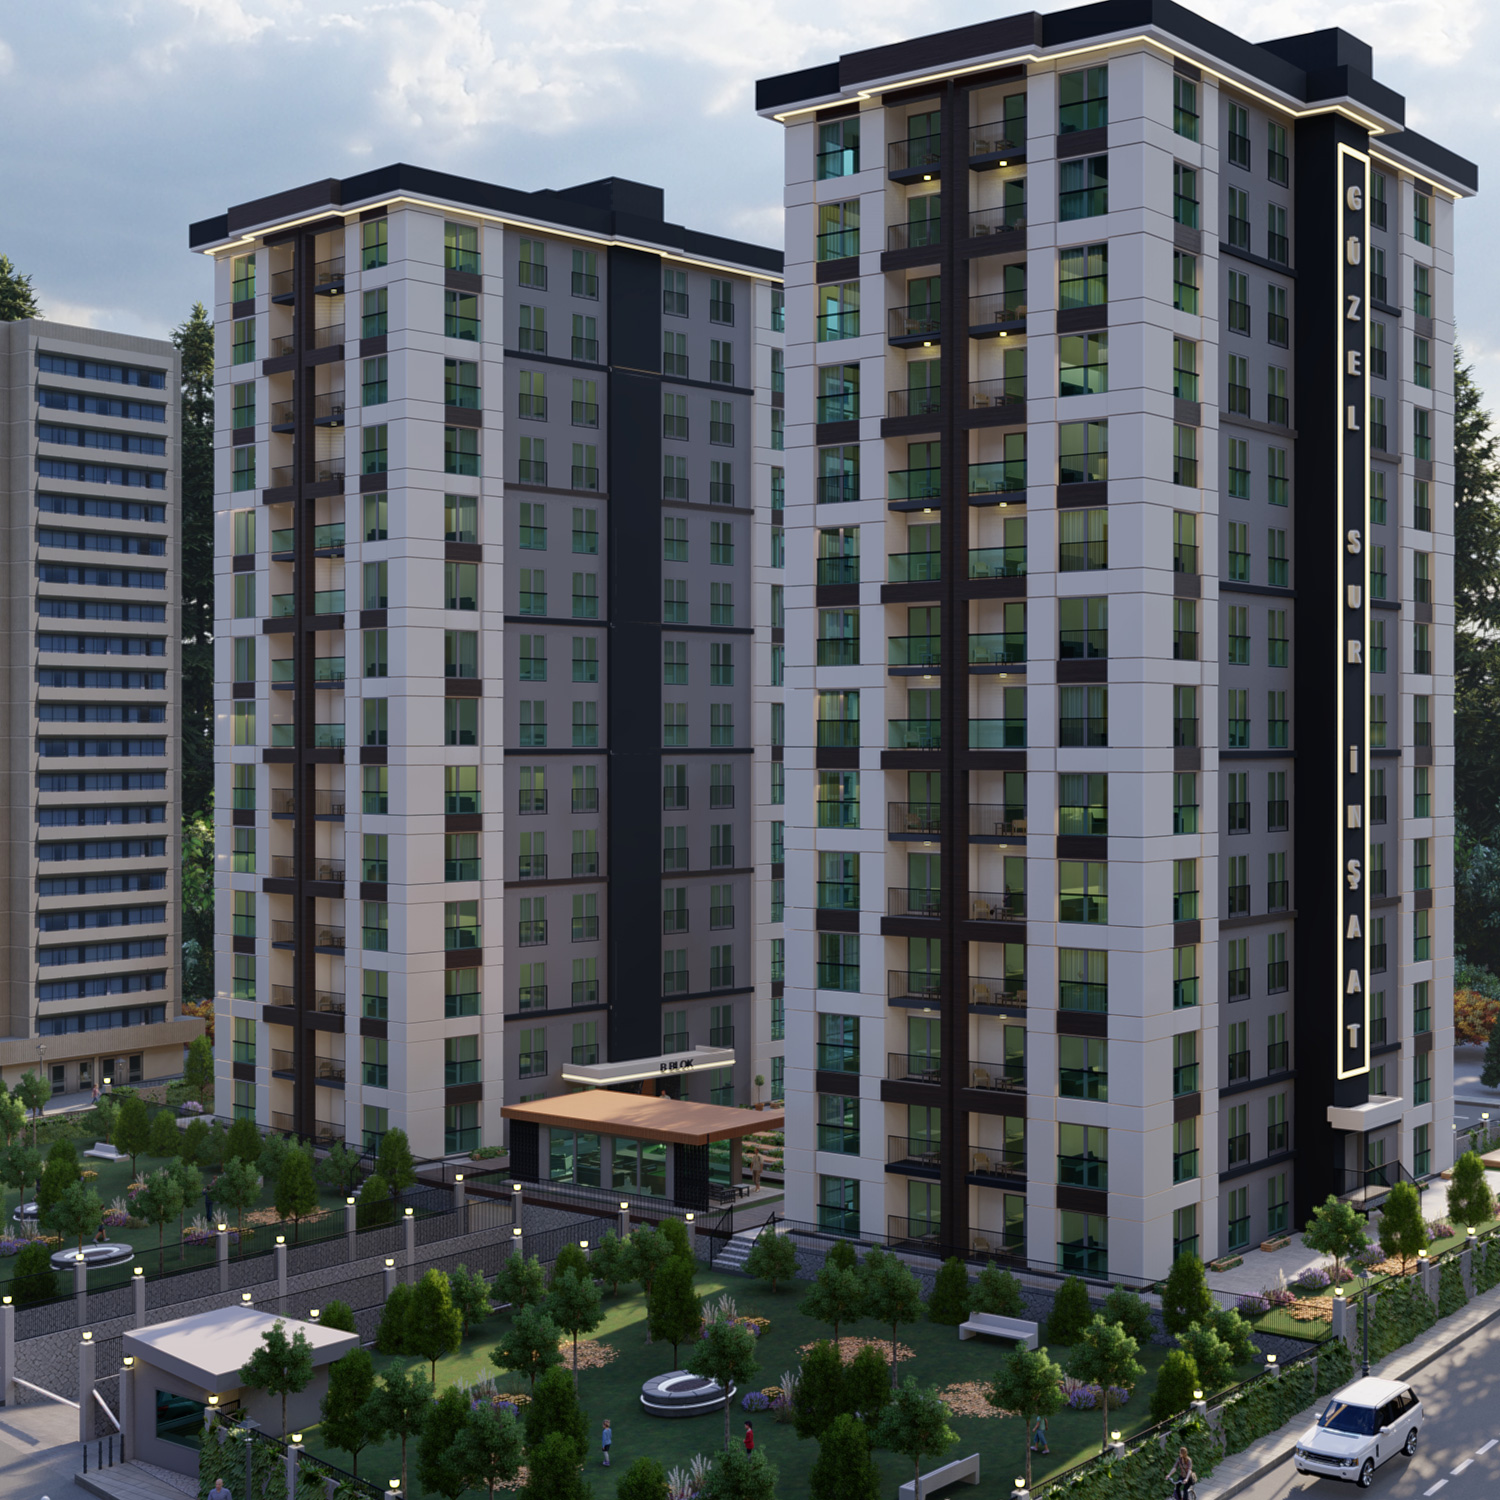
How to remove background in photoshop with pen tool
Photoshop comes with various tools to remove the background from an image. If you want to use an image, a logo, or some graphics in your design, you can simply remove background from an image in Photoshop cc 2020 and use it however you please.
In this tutorial, we will look at different ways you can make the background of an image transparent in Photoshop. We will focus especially on learning how to use the Pen Tool. It is a handy skill to learn and can help you become an expert designer. So let’s get started, how to remove background in photoshop very professionally!
Photoshop has several built-in tools that are quick and simple to use. These include the Magic Eraser Tool, the Background Eraser Tool, Magic Wand Tool, Quick Selection tool, among others.
Background and Magic Eraser Tools work by making parts of the background transparent as you click on them. But sometimes they can make parts of the foreground image transparent as well. These tools are best suited to images with a plain background.
Similarly, you can also use any of the Selection Tools. All you have to do is pick one of these tools and click on the background to select it. Hit Delete on the keyboard and the selected portion will disappear.
Even though using built-in tools is quick and easy, they are not great for images with fine details. For instance, the Magic Eraser Tool can remove parts of an image as well and make quite a lot of mess.
Background Eraser tool / Magic Eraser tool
The best method for removing the background without damaging the image to use the Pen Tool. It might take a little longer, but it can give you a great final product.
Pen Tool is preferred by expert Photoshop users all over the world to remove background from an image. This is a great method for images with colorful backgrounds and details. If you want to learn how to remove background in Photoshop with Pen Tool then continue reading the post.
If you want to use Pen Tool on an image, you must first open the image file in Photoshop. Go to File-> Open ( Ctrl+O ) and browse the image. Also, you can read the tutorial here. Also zoom the image 200-300% until you can see the edge clearly.
After opening the image file, you need to pick the Pen Tool. It is available in the side toolbar or press “P”. Select the top most option in the Pen Tool menu and you are ready to start drawing your path.
With the Pen Tool selected, add an anchor point on the boundary of the image. This will be your starting point. Keep adding anchor points around the boundary. You can zoom in to clearly see all the details in the image. Draw a path all around the image to select it.
Once you are done, join the path with the starting point to close it. Now your path is complete.
If you cannot already see the Paths Panel on the right side of the window along with the Layers Panel, you can turn its visibility on from the top menu. Go to Windows->Paths. Click on it and you will see the Paths Panel with the path you just drew. You can also rename it by right-clicking on it.
To remove background from an image, you must select the background. You have already drawn the path around the image, you can convert this path into a selection.
Right-click on the path in Paths Panel. This will open a menu. Find the option that says “Make Selection”, this will convert your path into selection right away.
The image is now selected, but we need to select the background in order to remove it.
Go to Select ->Inverse to inverse your selection. With the background now selected you can easily delete it.
If you open an image file it appears as the Background Layer. In Photoshop, you cannot make any changes to the locked Background Layer. To delete the background from an image, you should duplicate the layer with the image.
Go to the Layers Panel. Right-click on the Background Layer and click on “Duplicate Layer”. Turn off the visibility ( eye icon ) of the original Background Layer.
With the Duplicate Background Layer selected from the Layers Panel, you can simply press Delete on the keyboard. This will instantly remove the selected background from the image and you will be left with the part of the image you traced with the Pen Tool.
That’s it. This is all you need to do to make the background of an image transparent with Pen Tool.
Now that you have successfully removed the background from an image, you are free to use it anywhere you want in Photoshop. However, you will need to save it first.
If you save the file as JPEG, a white background will be automatically added to the image as this format does not support transparency.
The most suitable image file format for such images is PNG. When saving the image, select PNG from the options. Once you save it as PNG, you will not have to worry about the background of this image anymore and use it in your posters, pamphlets, and other designs.
Pen Tool might seem difficult for beginners. It is also a little more time-consuming. But once you start using it, you can become pretty good at it. You would need to have a good grip over the mouse, and practice adding and removing anchor points along the path.
Despite being a little hard to use, Pen Tool is still one of the most effective methods to remove the background from an image in Photoshop. If you have wanted to keep all the details in the image, you should always use the Pen Tool.
Now that you know how to remove background in Photoshop, you can create some wonderful designs like a pro designer. Don’t forget to keep practicing.
If you don’t have sufficient time to create a clipping path then you can hire us. We have 50+ professional photoshop experts, who can complete your task very quickly and perfectly. Try to use our background remover services, we hope you will not be disappointed. Thanks for reading the post.
Clipping Path Explanation – What is clipping path and how does it work?